Translate Bubble
This Bubble Application integration guide shows you how to translate Bubble Applications in a few easy steps. Follow this tutorial to create a multilingual Bubble Application translated to other languages for your international customers.

Below is a step by step guide for integrating Localize into your Bubble application.
If you do not have a Localize Project yet, signup here!
1. Click "Plugins" in your Bubble dashboard.
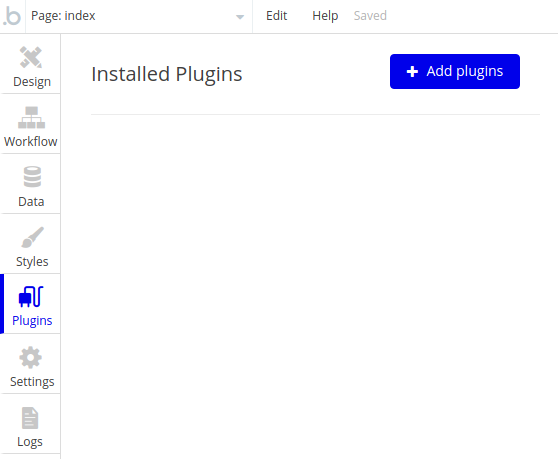
2. Click “Add plugins”. Refer to the image above.
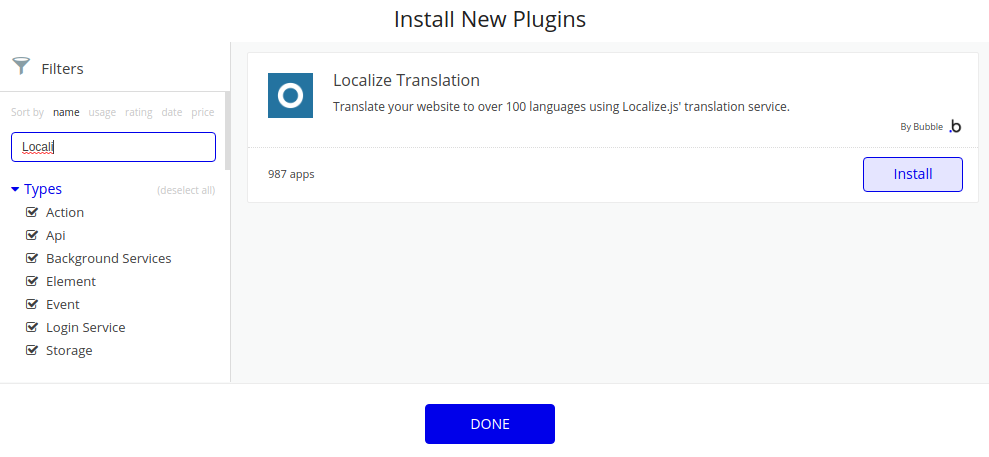
3. Find and install the Localize plugin.
In the Install New Plugins page, enter “Localize" in the search box and click the install button. Click "Done" once the installation is completed.
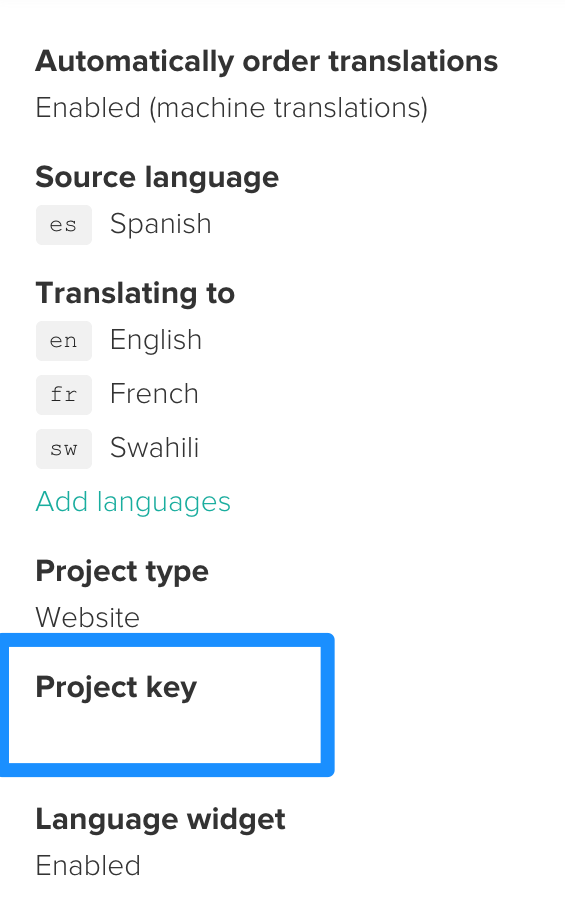
4. Make sure to add your Localize Project key.

Note: Find your Project key in the Localize dashboard.
5. Click "Design" in your dashboard.
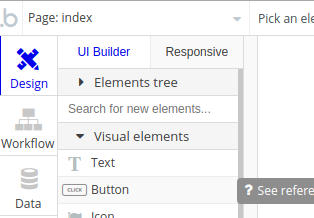
6. Add a new language button.
Click on “Button” under “UI builder” and drag it onto the page.
Enter the Language title, and click "Start/Edit Workflow".

7. In the workflow page, click “Click here to add an action”.
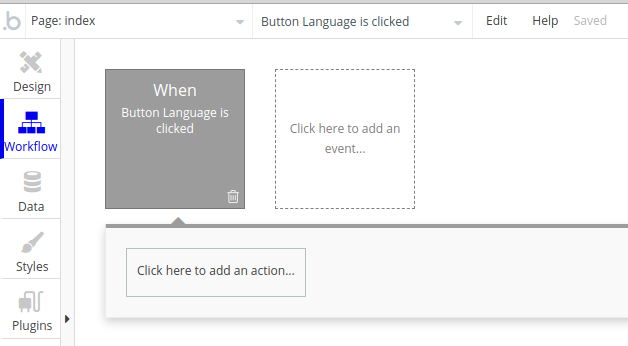
8. In the submenu, click “Plugins” and then click "Set the website language".
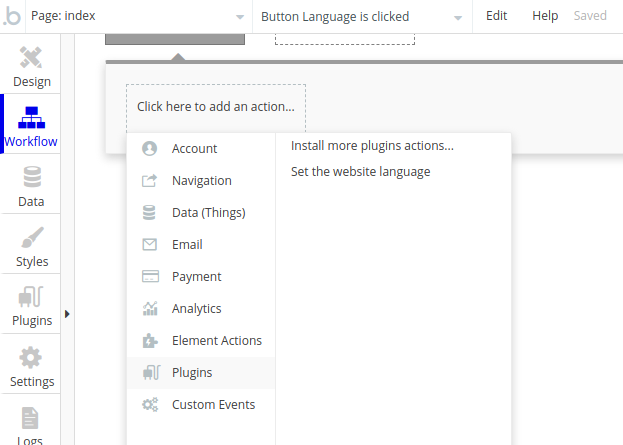
9. Pick your desired language code.

10. The language code should match your Localize project language's code.

11. Click on "Preview"

12. Reload your website.
- Visit your website (or application).
- Select one of your target languages using the language-switching widget.
- Refresh the page.
- Lather, rinse, and repeat, for each page on your site.
Localize will automatically begin detecting new content on the pages you visit and bring it into your dashboard.
13. Approve phrases
Then head on over to the Manage Phrases page to approve phrases in the Localize dashboard.

14. Phrases not showing up?
If you are not seeing phrases show up in your Pending bin in the Localize dashboard, follow the troubleshooting instructions here.
Need Help?
Contact support for custom integration help or troubleshooting!
Updated about 1 month ago
