SAML SSO
Allow your users to login to Localize with your preferred Identity Provider
Security Assertion Markup Language (SAML) is an open standard for sharing authentication data between an identity provider (IdP) such as Okta, Jumpcloud, or Google, and a service provider such as Localize. SAML single sign-on gives organization owners a simple means of controlling and securing access to Localize for themselves and their team members without relying upon Localize for security.
Using SAML, when a team member attempts to log in to Localize they will be redirected to your IdP so that they can authenticate using their credentials. Upon successful authentication, they will be redirected back to the dashboard of your Localize organization and will be logged in and ready to work!
Setting up SAML SSO
The setup is similar for different IdPs. Below we provide a general overview of the workflow.
You can also see our detailed workflows for these popular IdPs:
Step 1: Enable SAML SSO
First, you'll need to enable the use of SAML SSO across your Localize Organization.
- Navigate to the Settings page under the Manage Organization menu item.
- Check the box next to Enable SAML SSO

Step 2: Create your SAML Application
Next, you'll need to use the information provided by Localize in the SSO Settings panel to create and set up your SAML application at your IdP. Localize is the Service Provider (SP).
- Create a new SAML application at your IdP.
- Copy the following information into the app.
- Save your setup.
| Field | Value | Description |
|---|---|---|
| Entity ID | Localize-SSO | The unique Localize SP entity ID. |
| ACS URL | https://app.localizejs.com/api/user/sso-login/[Organization_ID] | The Localize endpoint that's responsible for receiving and parsing your SAML assertion. |
| Start URL | https://app.localizejs.com | The URL at Localize that starts the SAML login process. |
Step 3: Enter your IdP Details
- To complete your SAML SSO setup, enter the following info from your SAML app into the Localize SSO Settings panel.
| Field | |
|---|---|
| IdP URL | The URL endpoint of your IdP |
| Metadata | The contents of your IdP's metadata.xml file |
- Click Save.
Step 4: Add your Users to your SAML App
Be sure to add the appropriate users to your SAML App if you haven't already.
Step 5: Add your Users to your Localize Team
You will also need to add your users to your Team in the Localize dashboard.
Also, be sure to set up the appropriate roles, groups, and permissions for each team member in your Localize dashboard.
Logging in Using SAML SSO
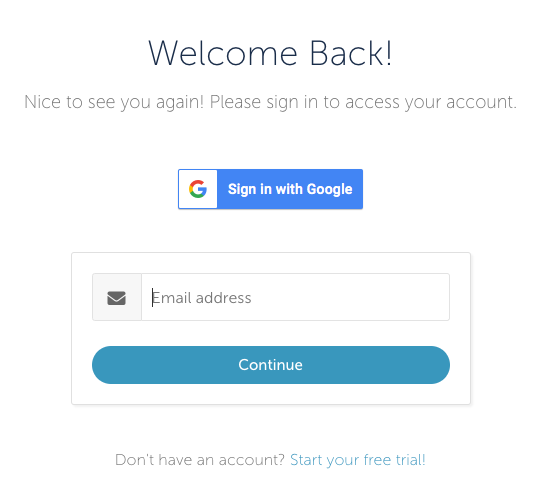
After your administrator has set up your Localize Organization to use SAML SSO, you'll be able to log in using your IdP.
- Enter your email address and click Continue.

If you were previously authenticated with your IdP, then you'll already be logged in!
If not, you will be redirected to your IdP where you'll be asked to login.
After successfully logging into your IdP, you'll be automatically logged into Localize!
Updated about 2 years ago
