Manage Your Projects
Projects are used to organize content for your websites and applications
From your Localize Dashboard you can manage and create multiple projects. For example, you can create one project for your main website and one for your help center. See Using Projects to Organize Content for more details about how to organize your content into projects.
- Project Overview
- Project Settings
- Variable Syntaxes
- SEO Settings
- Library Settings
- Disable Pages
- Exclude Phrases
- Languages
Create a Project
If you didn't create a project when signing up, or you wish to create a new project, there are a few ways to create one.
Step 1: Project Type
On the Manage Organization page:
- Click the Add New Project button (or)
- Click the New Project + button
Or you can use the Projects drop-down:
- Select the name of the current project in the top/left corner of the page.
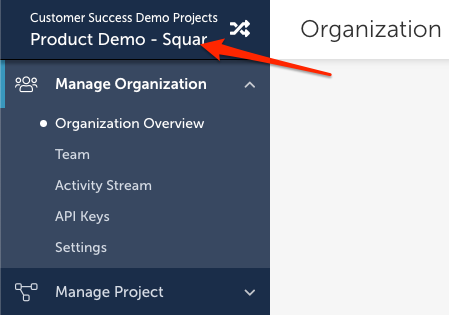
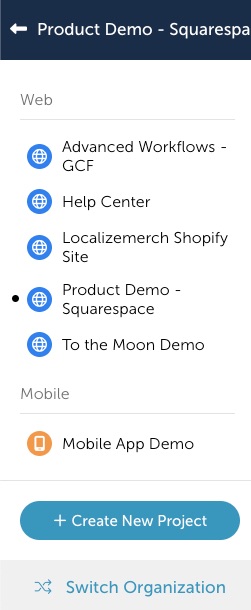
This will display your list of projects with a + Create New Project button at the bottom.
- Click the + Create New Project button
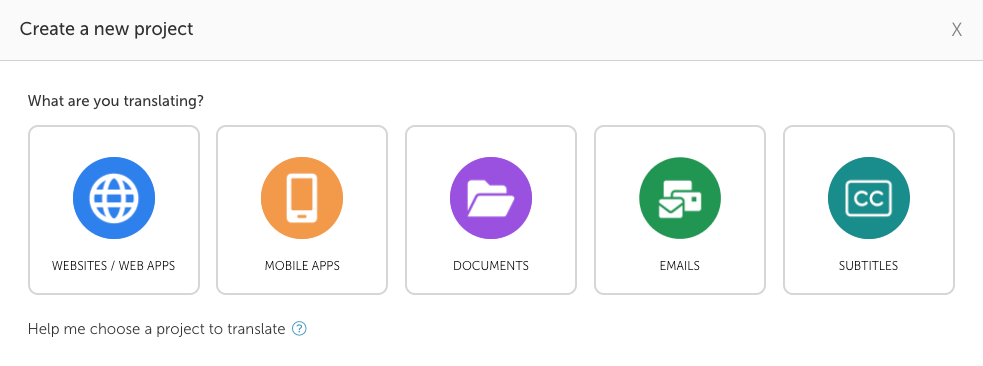
This will display the Create a new project dialog.
Select a project type and click Continue.
Step 2: Platform
For Web and Mobile projects, you will also pick the platform you are using for the project. For the other project types, jump to Step 3.
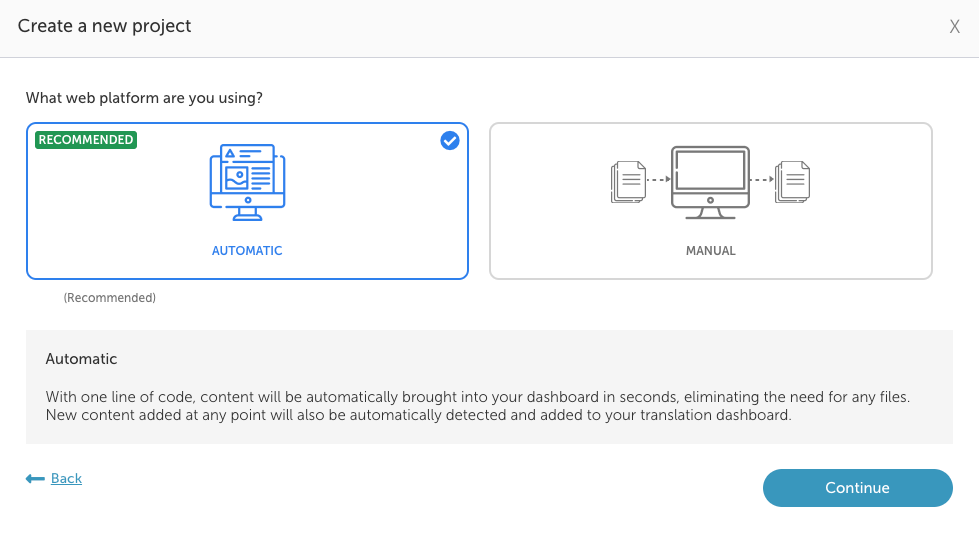
For a Web project, select the web platform that you are using and click Continue.
- Automatic
- Manual
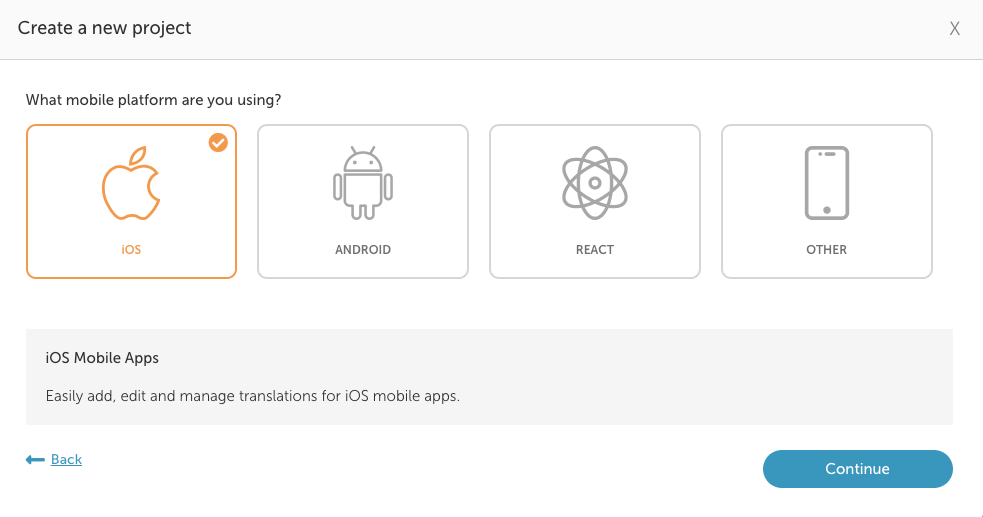
For a Mobile project, select the mobile platform that you are using and click Continue.
- iOS
- Android
- React
- Other (none of the above)
Step 3: Project Info
Different project types will require different information. Fill in the appropriate fields for the type of project that you are creating.
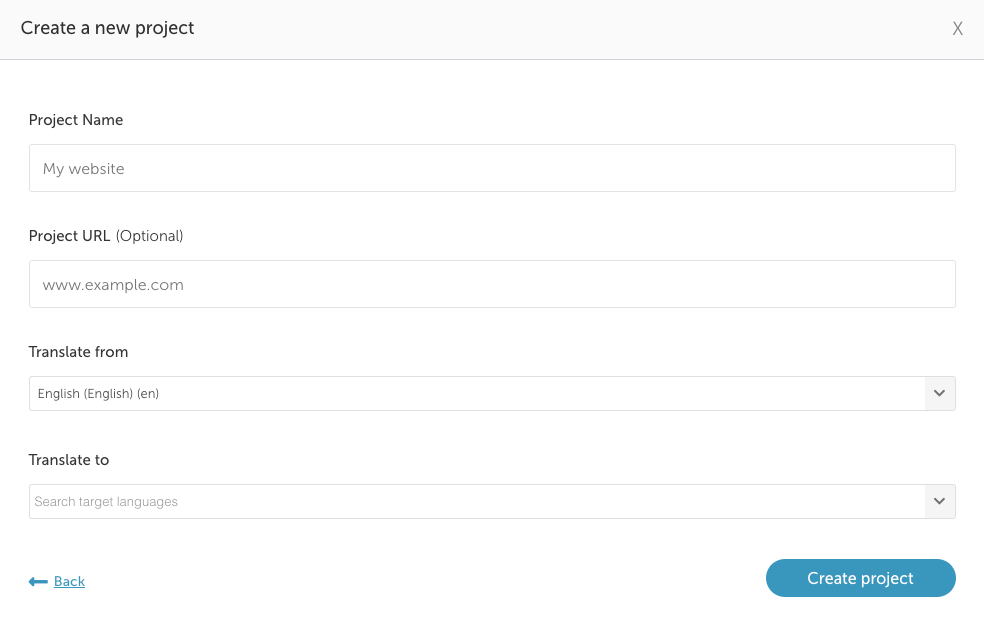
Enter the project info (this example shows a Web project):
- A Project Name
- An optional website URL
- The source language to Translate from
- One or more target languages to Translate to
- To add a language, scroll through the list or start typing the language name.
- To add another language, simply click next to the other language and you'll be able to select your next language.
- Click outside of the drop-down to close it.
Click Create project when ready.
Switching Projects
Manage Organization Page
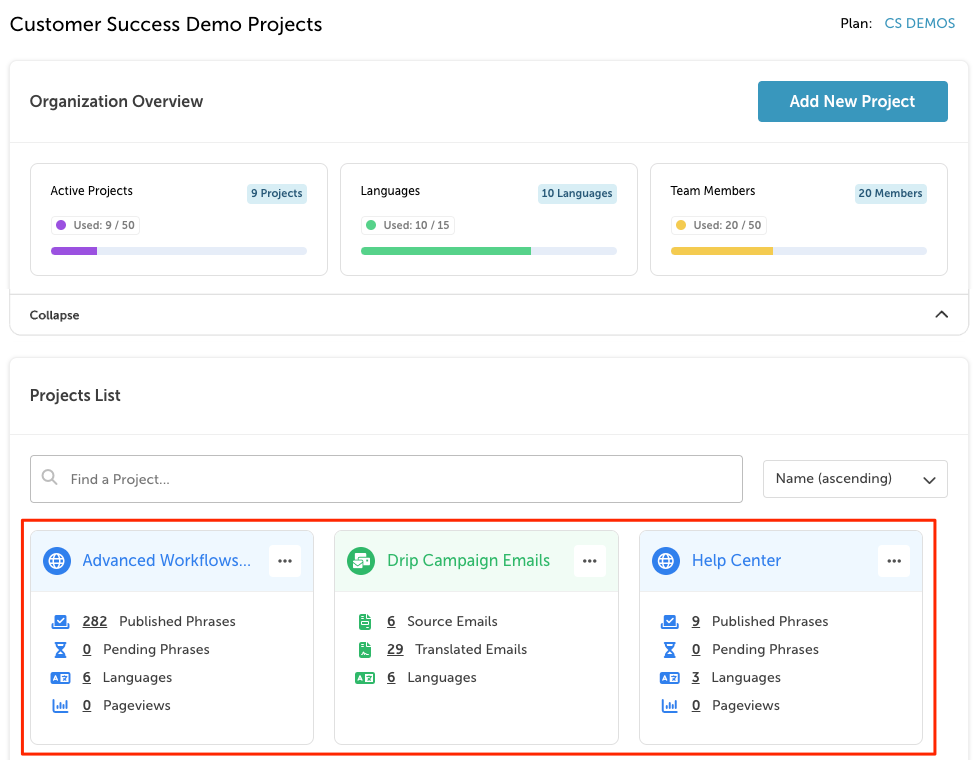
From the Manage Organization page in your Localize Dashboard, you can view all your projects and all the information you care about right up front. To work on any project, click the project tile or click on one of the links to go directly to that part of your dashboard.
Projects Drop-down Menu
You can also access your projects in the drop-down project menu in the upper-left corner of the screen from anywhere in the dashboard.
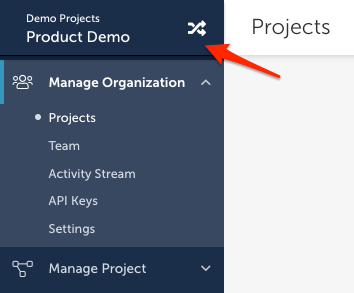
This menu sorts the projects in alphabetical order.

Finding Projects
You can search for a project by name or by the project Key from the Manage Organization page.
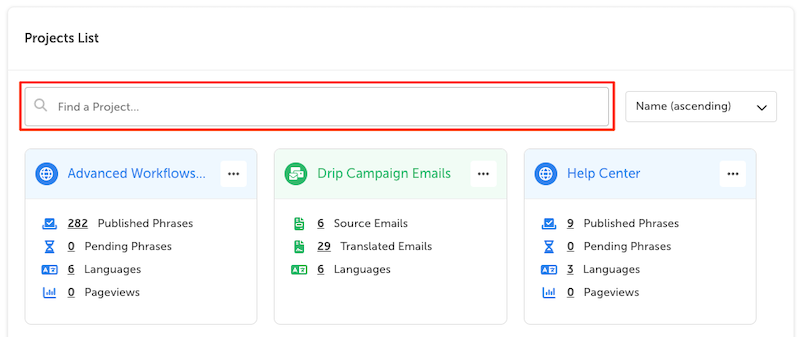
Start typing in the "Find a Project..." field and the projects list will be filtered as you type. This is especially helpful when you have a large number of projects.
Sorting Projects
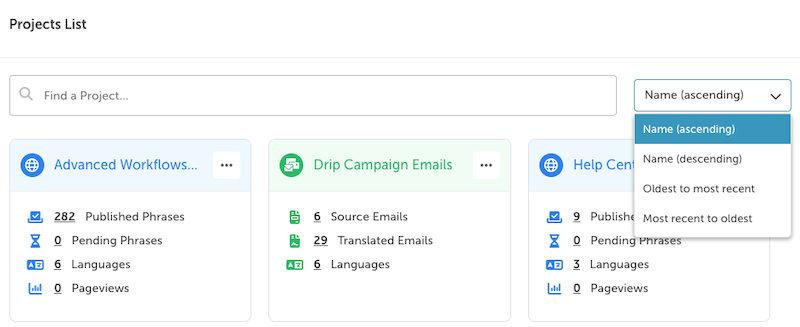
You can sort your list of projects alphabetically or chronologically. Click the drop-down and select your desired sort criteria.
Project Options
Click on any of the following to go to the relevant page in your dashboard.
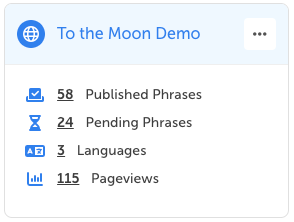
- The project title - navigate to the Project Overview page
- Published Phrases - navigate to the Pending bin on the Manage Phrases page
- Pending Phrases - navigate to the Pending bin on the Manage Phrases page
- Languages - navigate to the Languages page
- Pageviews - navigate to the Pageviews Report
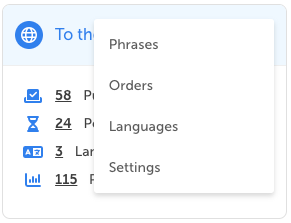
- The project options menu (the three dots) - This will open the project menu, allowing you to navigate directly to the Phrases, Orders, Languages, or project Settings pages.
Project Settings
To learn how to change the settings in your projects, use the following links:
Updated almost 2 years ago
