User Groups
Organize and manage permissions for your team by creating User Groups.
Creating User Groups for your team will allow you to assign specific permissions for specific groups of people in your team, allowing you to assign permisssions "in bulk".
You can create and manage your User Groups in your Localize dashboard on the Team page under Manage Organization. User Groups are created at the Organization level, just like Team members.
Watch this short video which shows you how to work with User Groups:
Create a User Group
- Navigate to the Team page under Manage Organization.
- Click the User Groups tab.
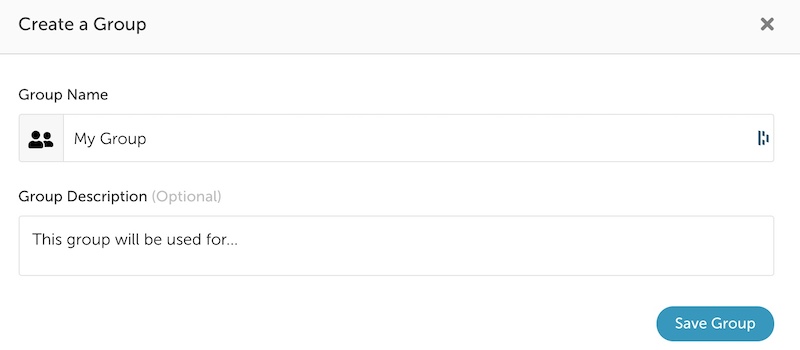
- Click the Create a Group button.

- Enter a name and a description for the group, and click Save Group.

Edit a User Group
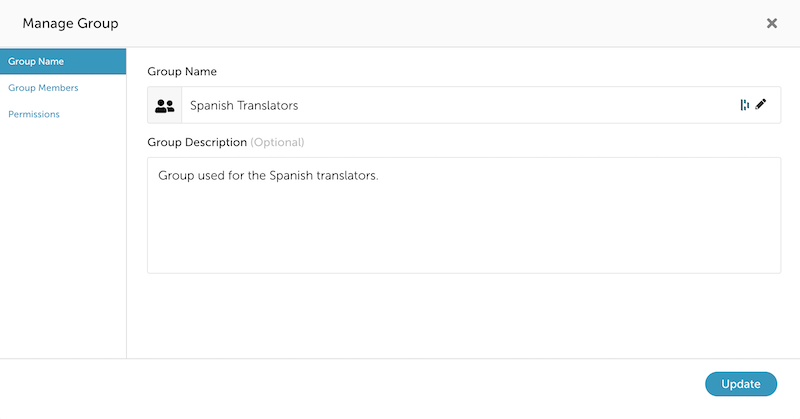
- Click the Manage Group button.
- Make your changes and click Update.

Add Members to a Group
- Click the Manage Group button.
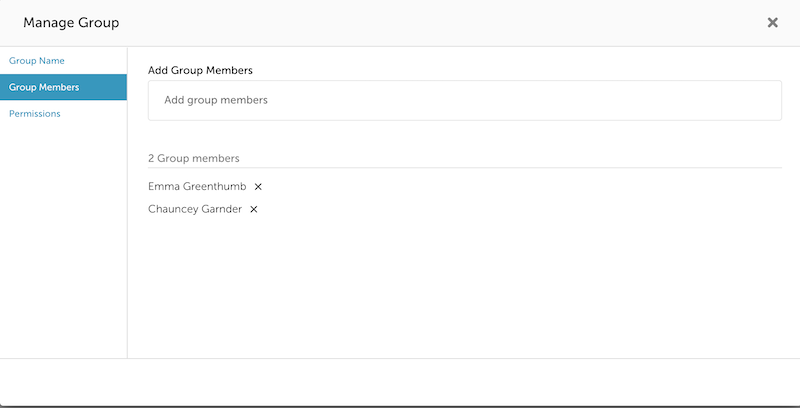
- Click the Group Members tab.
- Click on the + Add group members field and start typing the name of a team member.
- Select the team member from the list then click Add.

Remove a Member from a Group
There are two ways to remove a member from a group.
From the User Groups tab
- Navigate to the Team page under Manage Organization.
- Click the User Groups tab.
- Click the Manage Group button for a specific Group.
- Click the Group Members tab
- Click on the X next to the team member that you'd like to remove.
From the Your Team tab
- Navigate to the Team page under Manage Organization.
- Click on the Your Team tab.
- Click Manage Access for a specific team member.
- Click on the Groups tab.
- Click the Remove from group link for the appropriate group.

Permissions
Each User Group will have it own unique set of permissions, providing the appropriate access to the features required for that group.
Permissions are Additive
Note that any permissions granted to an individual team member in the group are granted in addition to the permissions set up in the User Group, and vice versa.
This also applies if the user is in multiple User Groups - the permissions are additive.
This allows you to have incredible flexibility in assigning permissions across your team.
To set up the permissions for a new group or to alter permissions for an existing group:
- Click the Manage Group button.
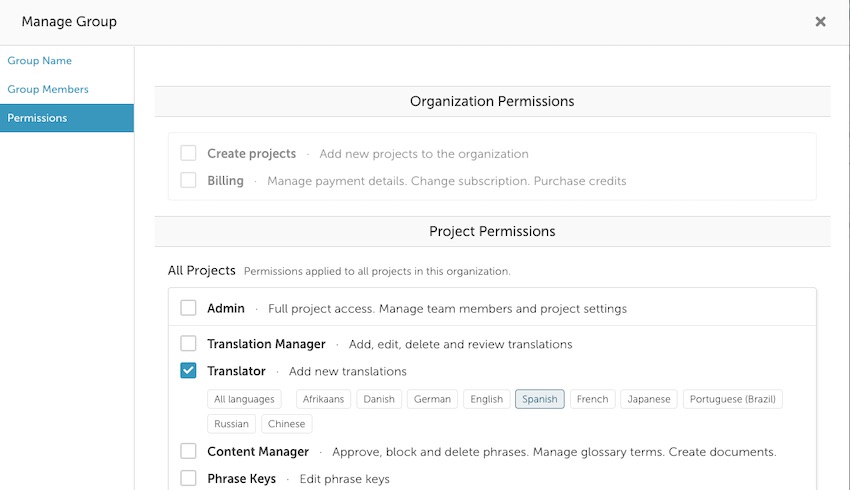
- Click the Permissions tab.
- Select the appropriate permissions for the Group (see details below).

Organization Permissions
Organization Permissions are applied to the entire Organization.
| Permission | Description |
|---|---|
| Create projects | Add new Projects to the Organization. |
| Billing | Manage payment details, make subscription changes and purchase credits for translation orders. |
Project Permissions
Project Permissions can be applied to all Projects or specific Projects in the Organization.
| Permission | Description |
|---|---|
| Admin | Admins have full project access that includes managing team members and project settings. They also have all project permissions regarding content approval, translations, translation orders, and languages. |
| Translation Manager | Add, edit, delete and review translations in all languages or selected languages. |
| Translator | Add new translations in all languages or selected languages. |
| Content Manager | Approve, block and delete Phrases. Manage glossary terms. Create documents. |
| Phrase Keys | Edit phrase keys. (requires the Phrases permission) |
| Order | Place orders for professional translations with organization credits. |
| Languages | Enable and disable languages. |
| View | View projects and settings, without access to make changes. |
Delete a Group
- Click the Manage Group button.
- Click the Permissions tab.
- Scroll to the bottom and click Delete Group
- Confirm the deletion when asked.
Updated almost 2 years ago
